内嵌Tomcat整合SpringMVC
大约 2 分钟Spring全家桶SpringBoot精讲细讲
main方法
任何的Java项目运行都需要main方法。
SpringMVC项目中,我们使用的是外部的Tomcat,Tomcat帮助我们调用了main方法运行程序。Tomcat为什么可以运行web项目,遵循了Servlet的规范,也可以说成是Servlet协议。
使用内嵌Tomcat,手动调用main方法。
依赖导入
<?xml version="1.0" encoding="UTF-8"?>
<project xmlns="http://maven.apache.org/POM/4.0.0"
         xmlns:xsi="http://www.w3.org/2001/XMLSchema-instance"
         xsi:schemaLocation="http://maven.apache.org/POM/4.0.0 http://maven.apache.org/xsd/maven-4.0.0.xsd">
    <modelVersion>4.0.0</modelVersion>

    <groupId>com.hejin</groupId>
    <artifactId>springboot-itnan</artifactId>
    <version>1.0-SNAPSHOT</version>

    <properties>
        <maven.compiler.source>8</maven.compiler.source>
        <maven.compiler.target>8</maven.compiler.target>
    </properties>

    <dependencies>
        <dependency>
            <groupId>org.apache.tomcat.embed</groupId>
            <artifactId>tomcat-embed-core</artifactId>
            <version>9.0.43</version>
        </dependency>
        <dependency>
            <groupId>org.apache.tomcat.embed</groupId>
            <artifactId>tomcat-embed-jasper</artifactId>
            <version>9.0.39</version>
        </dependency>
        <dependency>
            <groupId>org.springframework</groupId>
            <artifactId>spring-webmvc</artifactId>
            <version>5.3.2</version>
        </dependency>
    </dependencies>

    <build>
        <plugins>
            <plugin>
                <groupId>org.apache.maven.plugins</groupId>
                <artifactId>maven-compiler-plugin</artifactId>
                <version>3.8.1</version>
                <configuration>
                    <source>1.8</source>
                    <target>1.8</target>
                </configuration>
            </plugin>
        </plugins>
    </build>

</project>
代码启动Tomcat
UserServlet
public class UserServlet extends HttpServlet {
    @Override
    protected void doGet(HttpServletRequest req, HttpServletResponse resp) throws ServletException, IOException {
        resp.getOutputStream().write("<h1>hello springmvc</h1>".getBytes());
    }
}
main方法
public class Application {
    public static void main(String[] args) throws LifecycleException {
        Tomcat tomcat = new Tomcat();
        // 添加一个web工程
        tomcat.addWebapp("/app","E:\\tmp\\");
        // 添加一个servlet
        Wrapper userServlet = tomcat.addServlet("/app", "userServlet", new UserServlet());
        userServlet.addMapping("/user");
        // 连接器
        Connector connector = new Connector();
        // 设置监听端口
        connector.setPort(8080);
        // 设置连接器
        tomcat.setConnector(connector);
        // 启动
        tomcat.start();
    }
}
启动:
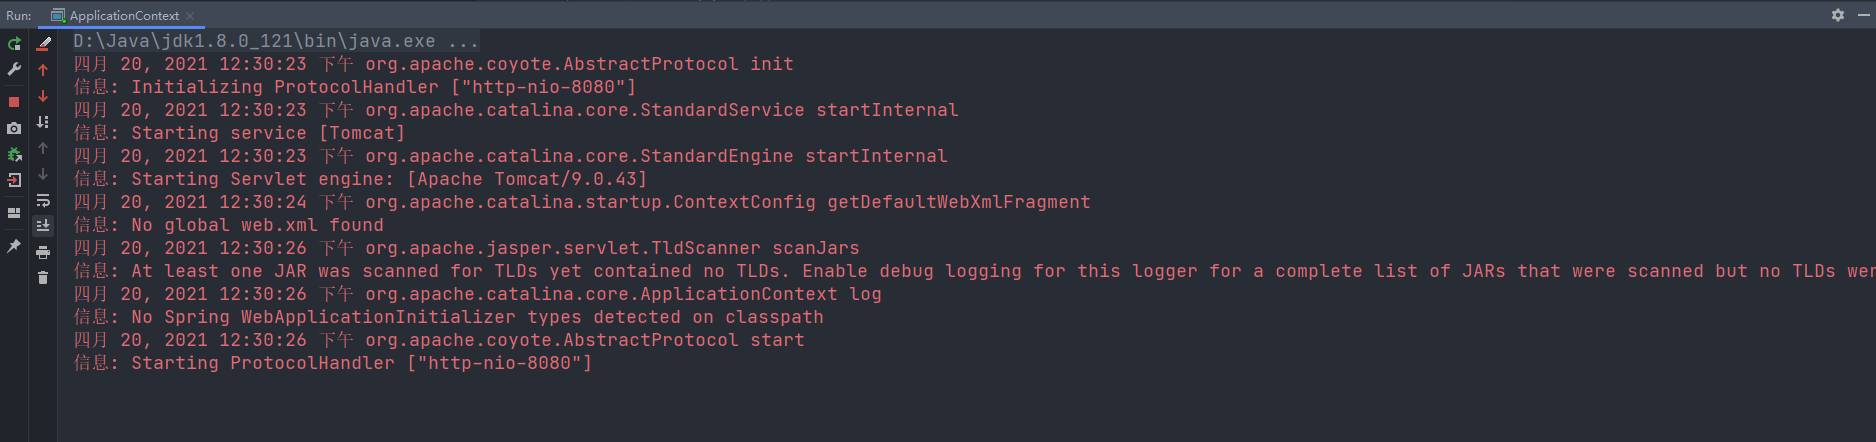
访问url:http://localhost:8080/app/user

整合SpringMVC
AppConfig
@ComponentScan("com.hejin")
@EnableWebMvc
public class AppConfig {
}
controller
@RestController
public class UserController {
    @RequestMapping("/hello")
    public String hello(){
        return "hello springmvc";
    }
}
启动类
public class Application {
    public static void main(String[] args) throws LifecycleException {
        Tomcat tomcat = new Tomcat();
        // 添加一个web工程
        Context context = tomcat.addWebapp("/app", "E:\\tmp\\");

        // 解析注解
        AnnotationConfigWebApplicationContext applicationContext = new AnnotationConfigWebApplicationContext();
        applicationContext.register(AppConfig.class);

        // dispatcherServlet配置
        DispatcherServlet dispatcherServlet = new DispatcherServlet();
        dispatcherServlet.setApplicationContext(applicationContext);

        // 添加一个servlet
        Wrapper userServlet = tomcat.addServlet("/app", "userServlet", dispatcherServlet);
        userServlet.addMapping("/");
        // 连接器
        Connector connector = new Connector();
        // 设置监听端口
        connector.setPort(8080);
        // 设置连接器
        tomcat.setConnector(connector);
        // 启动
        tomcat.start();
    }
}
测试:
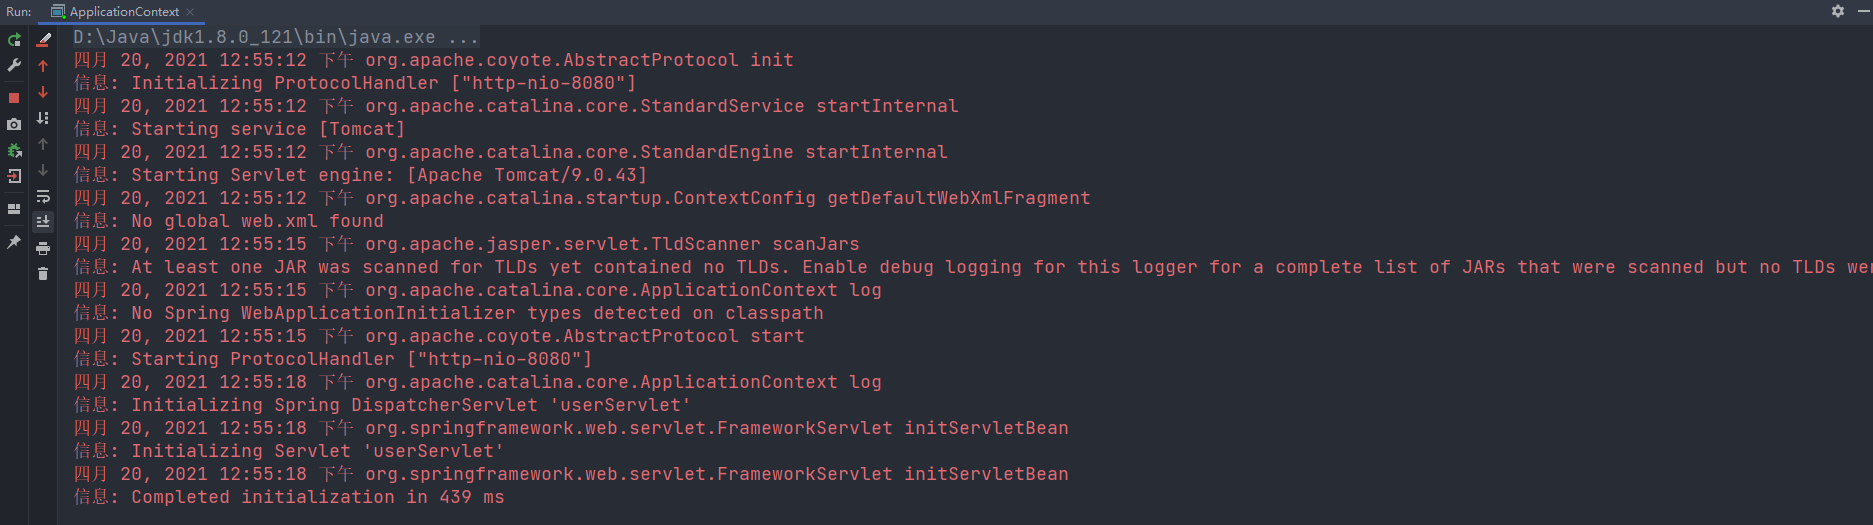
访问:http://localhost:8080/app/hello

再次整合
这部分是框架做的事情
public class ApplicationContext {
    public static void run(Class clazz, String[] args){
        Tomcat tomcat = new Tomcat();
        // 添加一个web工程
        Context context = tomcat.addWebapp("/app", "E:\\tmp\\");

        // 解析注解
        AnnotationConfigWebApplicationContext applicationContext = new AnnotationConfigWebApplicationContext();
        applicationContext.register(clazz);

        // dispatcherServlet配置
        DispatcherServlet dispatcherServlet = new DispatcherServlet();
        dispatcherServlet.setApplicationContext(applicationContext);

        // 添加一个servlet
        Wrapper userServlet = tomcat.addServlet("/app", "userServlet", dispatcherServlet);
        userServlet.addMapping("/");
        // 连接器
        Connector connector = new Connector();
        // 设置监听端口
        connector.setPort(8080);
        // 设置连接器
        tomcat.setConnector(connector);
        // 启动
        try {
            tomcat.start();
        } catch (LifecycleException e) {
            e.printStackTrace();
        }
    }
}
主启动类
@ComponentScan("com.hejin")
@EnableWebMvc
public class Application {
    public static void main(String[] args){
        ApplicationContext.run(Application.class, args);
    }
}
controller
@RestController
public class UserController {
    @RequestMapping("/hello")
    public String hello(){
        return "hello springmvc";
    }
}
测试结果正常。
配置文件的思考
SSM中,配置文件大量地组装bean。SpringBoot轻配置,只配置需要配置的,不经常改动的自动装配。
如何最大程度地减少配置
约定大于配置
if(配置里有){
    return 配置;
}
else {
    return 默认;
}